Beginner’s Checklist for Building a Home Coffee Station Under $200
Building a coffee station at home is less about buying a long list of gear and more about solving a few problems in the right order. You need a brewer that suits your mornings, a grinder that produces even particles, a scale that keeps you honest, and a way to store beans so they stay fresh. The $200 ceiling is useful because it forces choices. Spend too much on a shiny kettle and you will be stirring a bargain blade grinder, wondering why the cup tastes muddy. The checklist below puts the money where it does the most work.
Choose One Brewer and Learn It Well
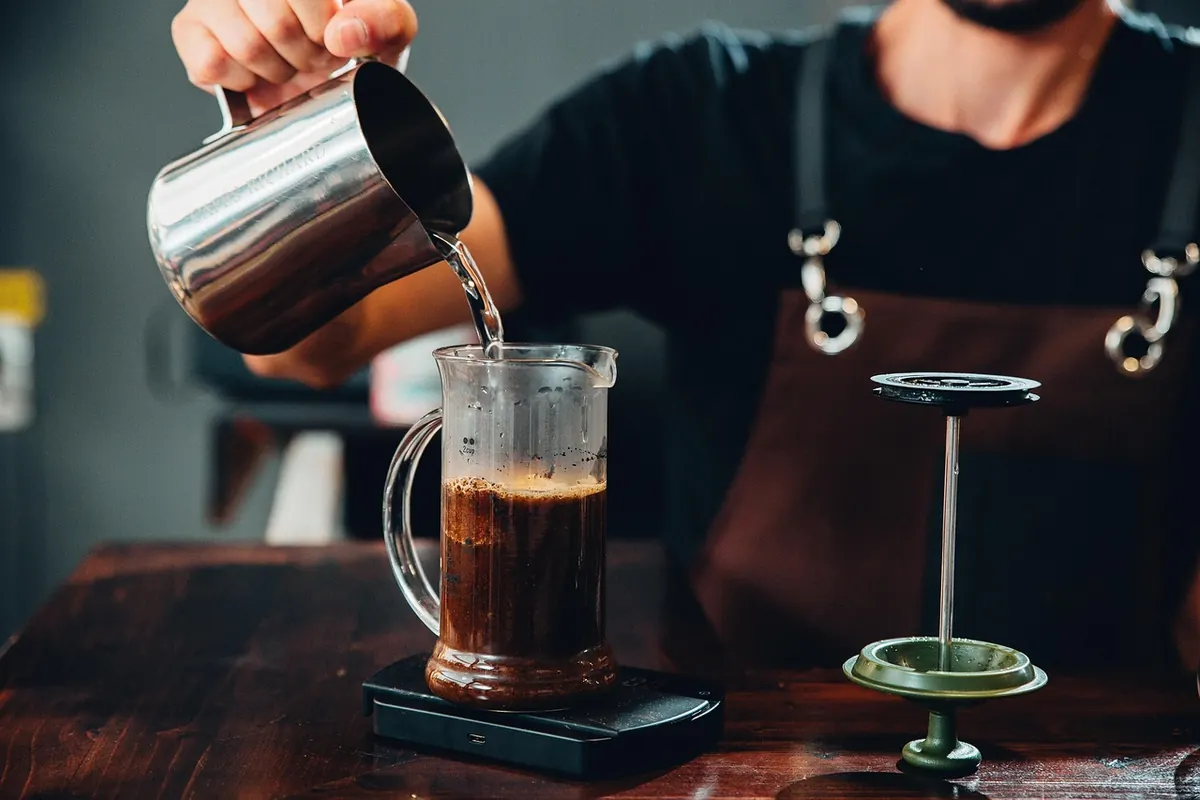
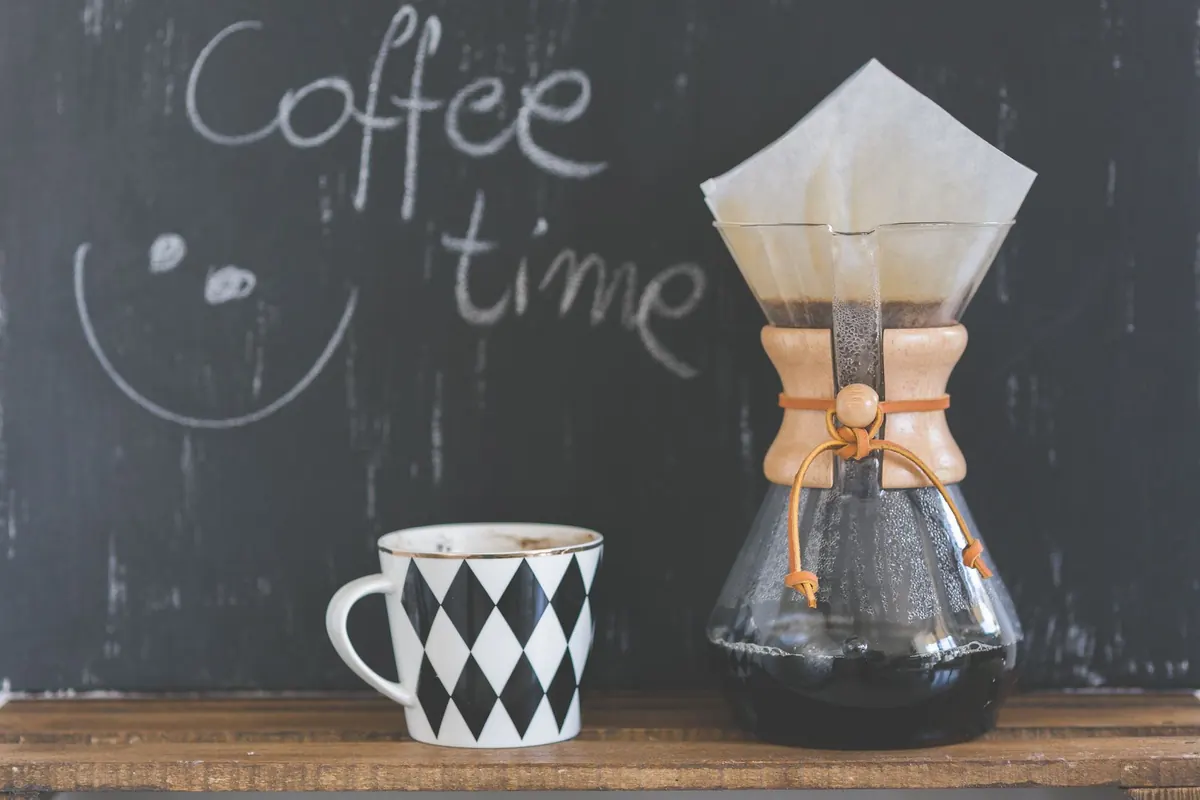
The fastest way to blow a budget is to buy three brewers because each one looks fun. Pick one method for now. A plastic pour-over dripper—V60, Kalita Wave, Melitta-style, or similar—costs little and teaches you about grind size, pouring, and bloom. A French press is even simpler: coarse grind, hot water, wait, press. An AeroPress sits in the middle, forgiving and quick to clean. All three can make excellent coffee; none needs a machine on the counter.
If you drink several cups at once, a French press or a larger batch brewer makes sense. If you make one mug at a time and like to tinker, a pour-over cone is ideal. If you want something compact for travel or small kitchens, an AeroPress is hard to beat. Whichever you choose, buy filters at the same time. Running out of filters is the most common reason a new brewer sits unused.
Make the Grinder the Biggest Line Item
Of all the gear in a budget station, the grinder has the clearest effect on flavor. A blade grinder chops beans into a mix of dust and chunks; a burr grinder crushes them into more consistent particles. That consistency changes how evenly the coffee extracts. For under $200, a manual burr grinder is usually the smartest buy. It takes a minute of effort, but it leaves more room in the budget for a scale and a decent brewer.
What to look for in a hand grinder
- Burr type: Steel burrs are often more durable, but well-made ceramic burrs can work well too.
- Adjustment: Look for clear, repeatable settings with clicks or marked steps.
- Capacity: A hopper that holds 15–30 grams is enough for one or two cups.
- Feel: A stable base and a comfortable handle matter more than you think.
- Support: Replacement parts or responsive customer service are worth checking.
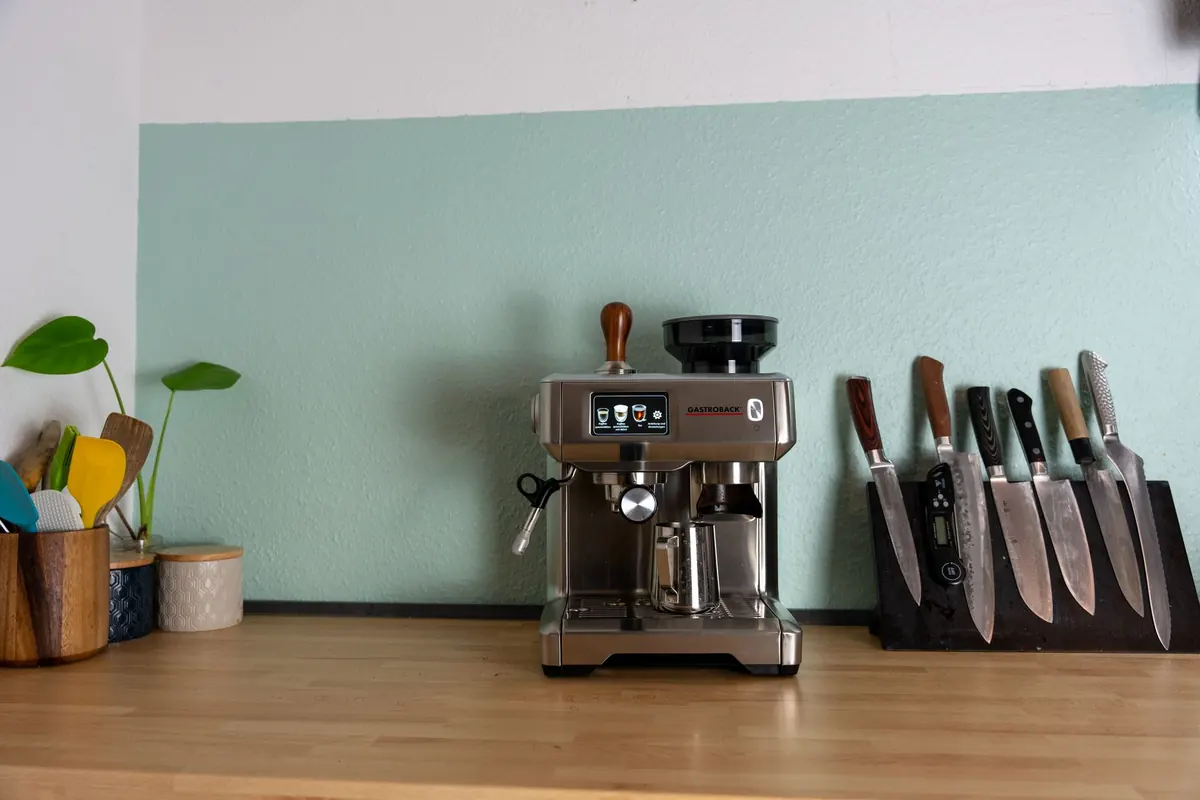
An electric burr grinder can fit under the ceiling if you choose carefully, but it often means compromising elsewhere. If you drink coffee every day and hate hand grinding, save for an electric burr grinder rather than settling for a blade grinder. In the meantime, some grocery stores have a burr grinder you can use—buy small amounts and grind there.
Buy a Scale That Reads 0.1 Grams
Eyeballing scoops is how recipes go wrong. A basic digital scale with 0.1-gram resolution and a timer is one of the cheapest upgrades you can make. It lets you weigh beans, weigh water, and repeat a cup you liked. You do not need Bluetooth or an app. You need a tare button, a clear display, and a platform that fits your brewer.
A simple starting recipe
Use a ratio of about 1:16 coffee to water by weight—for example, 18 grams of coffee to about 290 grams of water. Adjust to taste. If the cup is sour and thin, grind finer or steep longer. If it is bitter and dry, grind coarser or shorten the brew. Change one thing at a time so you know what worked.
Kettle, Water, and the Small Tools
A gooseneck kettle gives you control for pour-over, but it is not mandatory. A regular kettle and a steady hand can work; pour slowly and in small circles. If you buy a gooseneck, a stovetop model is usually cheaper than an electric one and leaves more budget for coffee. A thermometer helps if your kettle does not have temperature control. Aim for water just off the boil—around 90–96°C—and let it cool for a minute after boiling.
Water matters more than many beginners expect. If your tap water tastes strongly of chlorine or minerals, filter it. A simple pitcher filter or low-mineral bottled water can make a noticeable difference. Do not use distilled water alone; it lacks minerals that help extraction. A mix of filtered tap water or a low-mineral bottled water is a practical start.
Keep a few small tools within reach: a soft brush for the grinder, a clean cloth, a dedicated cup, and a timer if your scale does not have one. These are not glamorous purchases, but they make the station easier to use and clean.
Store Beans for the Week, Not the Year
Coffee is food. It stales faster than most people think, especially once the bag is open. Buy in amounts you will finish in two to four weeks. Store beans in an airtight container away from light and heat. A simple opaque canister with a tight lid is enough; you do not need a vacuum system or a fancy one-way valve unless it came with the bag and works well.
Avoid the fridge and freezer for daily-use beans. Condensation and food odors are real risks every time you open the container. If you freeze coffee for long-term storage, freeze it in small, airtight portions and let them come to room temperature before grinding. For a beginner station, keep it simple: one container, one week or two of beans, and a scoop that lives nearby.
The Checklist and a Sensible Split
Here is a practical checklist for a station under $200. Treat it as a priority list, not a shopping spree. You can add items later.
- Brewer: one pour-over dripper, French press, or AeroPress, plus the right filters.
- Grinder: manual burr grinder, or a carefully chosen electric burr grinder if the budget allows.
- Scale: 0.1-gram resolution, tare button, timer if possible.
- Kettle: stovetop gooseneck or your existing kettle; thermometer optional.
- Water: filter pitcher or low-mineral bottled water if tap water tastes off.
- Storage: small airtight container for beans.
- Cleaning: soft brush, cloth, and a plan to rinse the brewer after each use.
Prices vary by country and season, so use the order above rather than a fixed price list. Put the largest share toward the grinder, then the brewer and scale, then storage and small tools. A kettle can wait if you already own one. That order keeps cup quality high without turning the counter into a gear museum.
Set Up, Brew, Adjust
Set the station near a power outlet and a water source, with enough counter space to weigh and pour without moving everything. Keep beans, grinder, brewer, and scale within arm’s reach. Put the things you use daily in front; put backup filters and the cleaning brush in a drawer. A small tray or mat contains drips and makes cleanup easier.
Start with one recipe, brew it three times, and change only one variable each time. Grind setting is usually the most useful lever. Keep a few notes on your phone: beans, dose, water, grind, and time. After a week, you will know whether your station needs a better kettle or simply a finer grind.
Treat the $200 figure as a working cap, not a rule. Only you know what fits your finances, and it is fine to start with a brewer, a scale, and pre-ground coffee while you save for a grinder. The station can grow one useful piece at a time.
Photo: valverdesupport / Pexels
Local Roaster Spotlight: How to Choose Beans from a Nearby Coffee Roaster
A practical guide to buying beans from a nearby roaster — how to read roast dates, what to ask at the...
Weekend vs. Weekday Coffee Brewing: A Time-Saving Routine Checklist
A practical checklist for splitting your coffee routine in two: fast, repeatable weekday brews and slower...
About Us