How to Dial In a Pour-Over in 10 Minutes: Step-by-Step Grind and Timing Adjustments
A pour-over that tastes sharply sour or flatly bitter is not a failed brew. It is feedback. The cup is telling you which direction to move, and the only real skill in dialling in is knowing how far to move, and in what order. Ten minutes is enough for three brews, three tastes and two deliberate adjustments — more than most people manage in a month of guessing.
What follows is a workflow rather than a recipe. It assumes you already own a dripper, a grinder you can adjust, a scale and a kettle. Everything else is judgement, and judgement gets faster with practice.
Step 1: Lock In a Baseline You Can Repeat
You cannot adjust what you cannot repeat. Pick one dripper, one filter type and one water source, and stay with them for the whole session. Write down a starting recipe and use it for the first brew: 15 g of coffee to 250 g of water, water just off the boil for light roasts, a medium grind, a 40-second bloom with 45 g of water, then two pours finishing somewhere between 2:45 and 3:15 total.
Those numbers are a starting point, not a standard. Treat them as a place to stand while you look around. Note three things about the brew: the grind setting, the total time, and one word for the taste — thin, sharp, syrupy, drying, flat. Three brews from now, that note is the most useful thing on your counter.
Water deserves a mention because it is the one variable most people never touch and cannot fix with grind. Very hard water flattens flavour; very soft water makes coffee taste hollow and over-extracted. If your baseline cup is oddly dull no matter what you do, try filtered or bottled water before you blame the beans.
Step 2: Taste First, Then Change One Thing
Let the coffee cool for a minute. Hot coffee hides a lot, and most of what you need to know appears around the temperature of a warm bath. Then read the cup:
- Sour, sharp, thin, drying finish. Under-extracted. The water moved through too fast or did not pull enough out of the grounds.
- Bitter, ashy, mouth-coating, the flavour hangs around too long. Over-extracted. Too much was pulled out, usually because the grind was fine, the water hot, or the contact time long.
- Watery but not sour, or intense but not bitter. This is strength, not extraction. Different lever entirely.
- Sour and bitter in the same cup. Uneven extraction. Skip ahead to the section on channelling.
One change per cup. Make two and you have learned nothing except that something worked.
The whole discipline fits into ten minutes: brew for four, taste and decide for one, brew again for four. Do not stand over the dripper fiddling with the kettle while the first cup goes cold.
Step 3: Grind Size Is the Fastest Lever
If the cup is sour, grind finer. If it is bitter, grind coarser. That is the whole rule, and it holds for almost every brew you will ever make.
What matters is how far you go. Move by the smallest increment your grinder offers: one click on a hand grinder, one or two numbers on a stepped electric, a small nudge on a stepless one. Brew again. If you genuinely cannot taste a difference, take another step in the same direction. Two small steps beat one big one, because a jump of several settings usually overshoots and leaves you chasing the recipe back and forth.
Drawdown time is a useful clue but a poor target. A 3:30 brew can still be under-extracted if the bed channelled or the grind was coarse; a 2:20 brew can taste bitter if the water was too hot. Look at the bed as well as the clock: a soupy, muddy surface that stalls at the end usually means you went too fine, while a bed that drains almost before you finish pouring means there is room to go finer.
Step 4: Dose and Ratio — Fix Strength Before Flavour
Strength and extraction are different problems, and confusing them wastes a lot of coffee. If the cup tastes right but too weak, add coffee or tighten the ratio. If it tastes right but too strong, the fastest fix is a splash of hot water in the cup — no rebrew required.
Keep the ratio between roughly 1:15 and 1:17 while you are dialling in, and change the dose only when you actually want more or less coffee. Fifteen grams to 250 g is a sensible working size. If you want a bigger mug, scale both numbers — 20 g to 330 g — rather than just adding water, and expect to coarsen the grind slightly, because a deeper bed of coffee slows the flow on its own.
This is why dose and grind get tangled together. Change the dose and you have changed the bed depth, the contact time and the flow rate all at once. Dial in the grind with a fixed dose, then adjust dose once you are happy with the flavour.
Step 5: Pour Timing and Structure
Once the grind is close, the pour becomes the fine control. A repeatable structure looks like this:
- Rinse the filter with hot water, discard the rinse, and preheat the server.
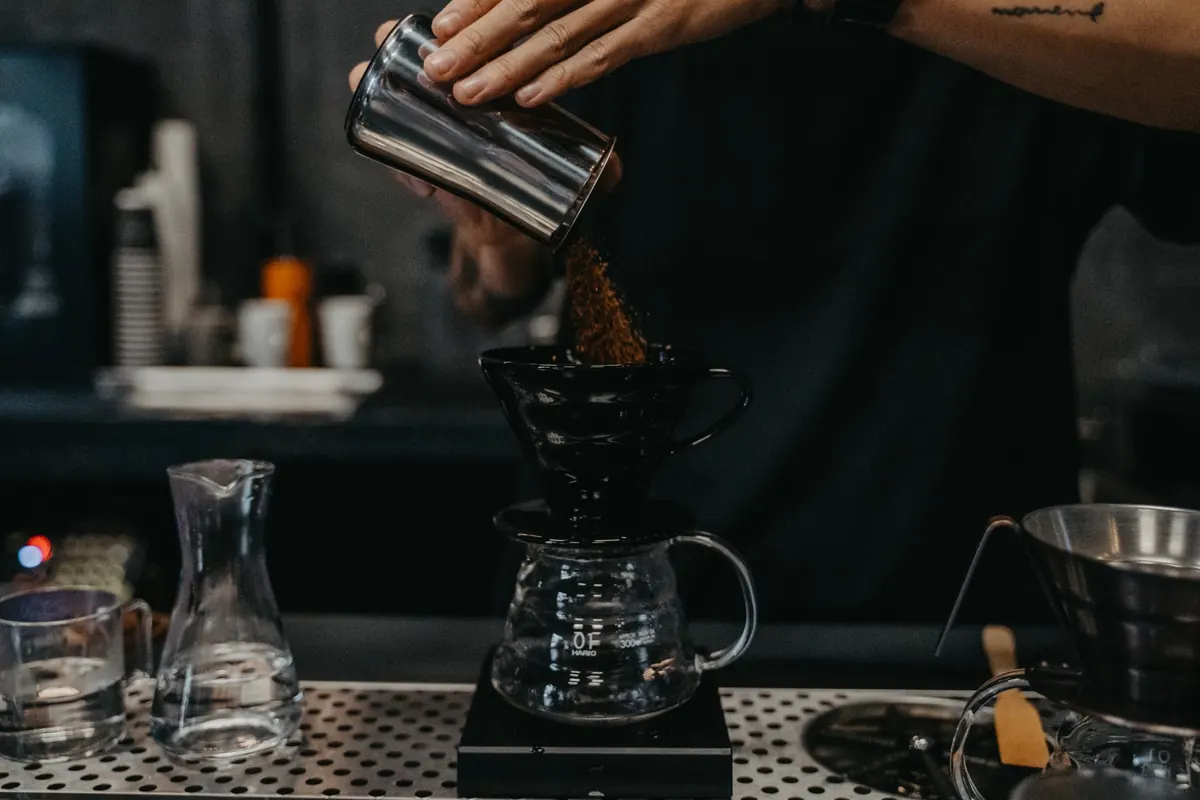
- Add the coffee, level the bed by tapping the dripper, and tare the scale.
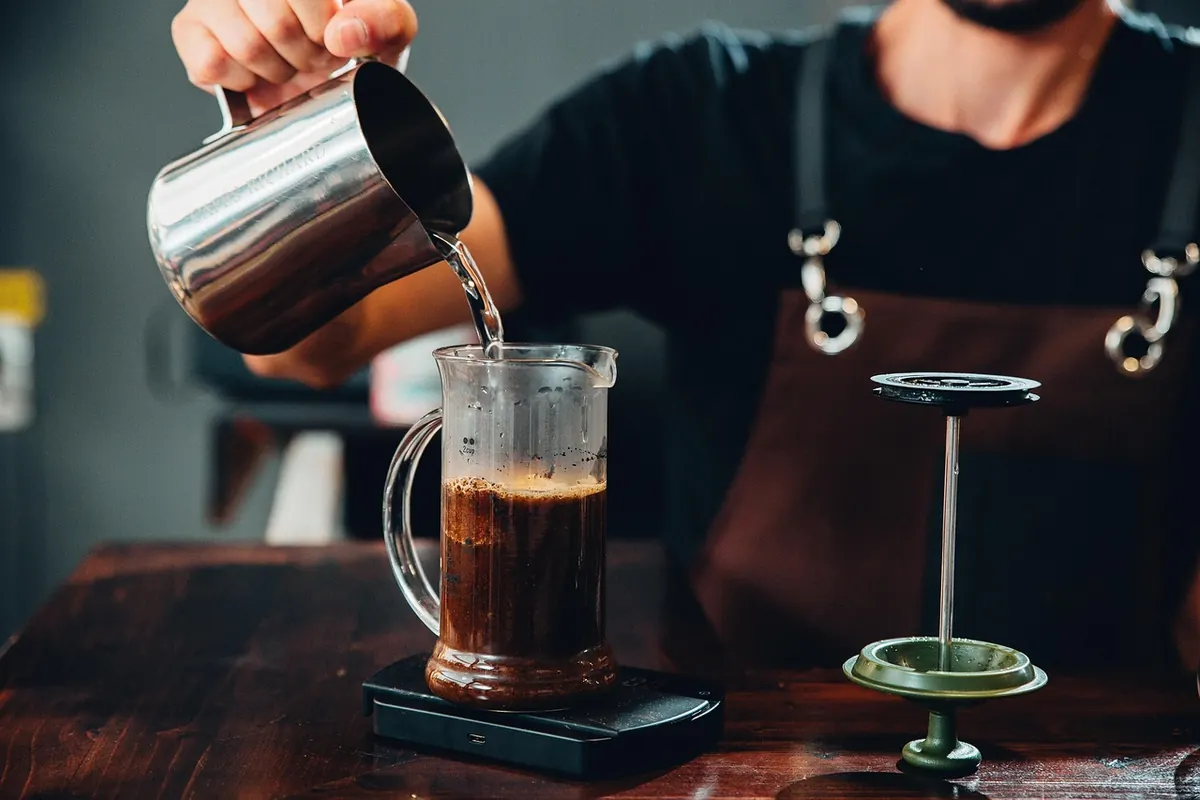
- Bloom with two to three times the coffee's weight in water — 30 to 45 g — swirl gently, and wait 30 to 45 seconds. Fresh coffee will bubble and settle.
- First pour: spiral slowly from the centre outwards, reaching about 60 percent of the total water by 1:15.
- Second pour: finish to the total weight by around 1:45 to 2:00.
- Give the dripper a gentle swirl and let it draw down. Aim to finish between 2:30 and 3:15.
- Write down the time and the taste before you drink the whole cup.
Pour height and speed are your agitation controls. Pouring from high, or fast, stirs the bed and extracts more; pouring low and slow is gentler. More agitation helps a stubborn light roast and punishes a fine grind, because it pushes fine particles to the bottom of the filter and slows everything down. Water temperature is the last lever, not the first: 94 to 96°C suits most light roasts, 88 to 92°C suits darker ones. Reach for temperature only after the grind is right.
When the Cup Is Both Sour and Bitter
This is the confusing one, and it almost always means uneven extraction: some of the bed gave up too much, some gave up almost nothing. The usual causes are a grind that is too fine, an aggressive pour, or a bed that was never properly saturated at the bloom.
Coarsen by a step, pour lower and slower, and keep the water off the paper wall — pouring down the side of the filter sends water straight past the coffee. Swirl the bloom so every ground is wet before the main pours begin, and level the bed before you start. If the problem persists across several coffees, your grinder is probably producing a wide spread of particle sizes, and a slightly coarser setting with a gentler pour is the practical workaround.
A Ten-Minute Practice Session
Here is how to spend the ten minutes. Minutes zero to four: baseline brew, weighed and timed. Minutes four to five: taste it, decide sour or bitter or uneven, and choose one lever. Minutes five to nine: change that lever by a small step and brew again. Minute nine to ten: taste, compare, and write down which direction helped.
If you have time for a third brew, chase the improvement one more small step. If you do not, stop. Two adjustments per session is plenty, and a card with three brews' worth of notes is worth more than any recipe you find online. Do this two or three times with a new bag of coffee and you will know your grinder's working range for it — at which point the ten minutes becomes three, and you can go back to drinking your coffee instead of investigating it.
Photo: Anna Tarazevich / Pexels
Local Roaster Spotlight: How to Choose Beans from a Nearby Coffee Roaster
A practical guide to buying beans from a nearby roaster — how to read roast dates, what to ask at the...
Weekend vs. Weekday Coffee Brewing: A Time-Saving Routine Checklist
A practical checklist for splitting your coffee routine in two: fast, repeatable weekday brews and slower...
About Us